Pages

July 8, 2014

Happy summer everyone!

As some of you may notice my blog looks a little different.  This morning when I went to post the layout it gave me this weird message that I was out of bandwidth.  The only bandwidth I know about is on my waist!  Anyway, after searching for what it seemed like hours, I found out that for some reason I have to change the layout of the blog to make it work.  Who knows, who cares, but for now it works!

Anyway, this month is the last time we can shop from this IDEA book.  A few things are already gone, but I can update you at club.  This month, I decided to be a stash buster and we are focusing on the technique of using  the chipboard you may have in your collection and washi tape.  Don't worry I have enough for all my friends!   However, if you have some chipboard that may work with your layout feel free to bring it.  

We are using 1 - 4 x 6 vertical and the other 3 pictures can be of any size vertical or horizontal for the second page.  Please see the layouts below.  Remember to click on the picture for a bigger size of it.  Hope to see you all. 

I used the chipboard S and B and covered it washi tape.  The rest of the letters I stamped.

On this layout I used the chipboard VBS and covered it with washi tape as well as the 3 hearts on the left layout.  On the right layout, upper right hand corner, I used the CTMH Artbooking cartridge to fill in some white space.  I can help pick one out for you as well.

On the last layout I used the chipboard starts and covered them with washi tape and used the Artbooking cartridge for the THINK, GROW, LEARN.

Fun!


May 2, 2014

May Club

Happy May everyone!
I wish I could say the weather matched the month.  For club this month we are focusing on a few techniques/products.   We will be using the new Paper Fundamentals Basics Assortment paper.  (p. 126 of the idea book).   One side is a glossy resist pattern and the other side a design that is not glossy that coordinates with it.    They are in earth tones and everyone will need one sheet (I will provide).   Since, they are in the earth tones, you may want to think about what pictures you are wanting to bring.   We will also use the cricut philosophy cartridge to cut out 6" and 3" circles.  In addition, washi tape of course and baker's twine.    You will need 2 - 4" x 6H" pictures, 2 - 4 x 5W pictures and 2 - 3 x 4H pictures or 1 - 4 x 6W picture.     You can see the layouts below.  (Remember you can click on the layout to see a larger version of it).  

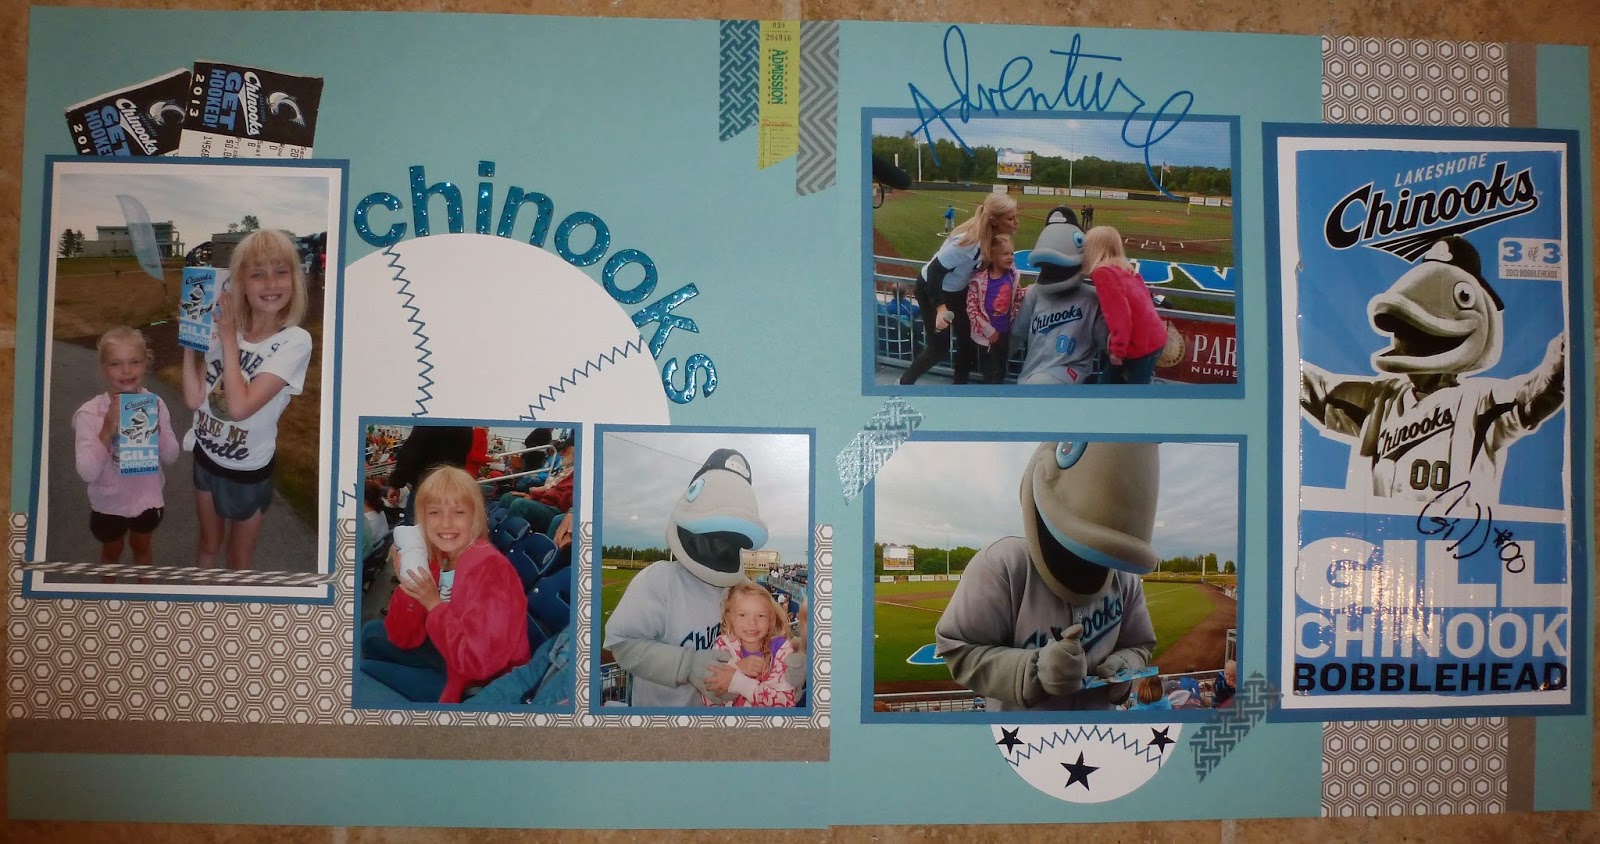
In the above layout I used the circle and turned it into a baseball.

You will notice the bakers twine around the far left picture and the washi tape on top right.   Also the basic fundamentals paper is the gray and the dark gray is the glossy side. 

On the far right, instead of a picture, I used an autograph cut out of a box.   I also used washi tape to adhere the bottom left picture and put the 3" circle under the picture.  
On this layout I used the brown basic fundamentals paper.   I also stamped tone-on-tone for the circles.

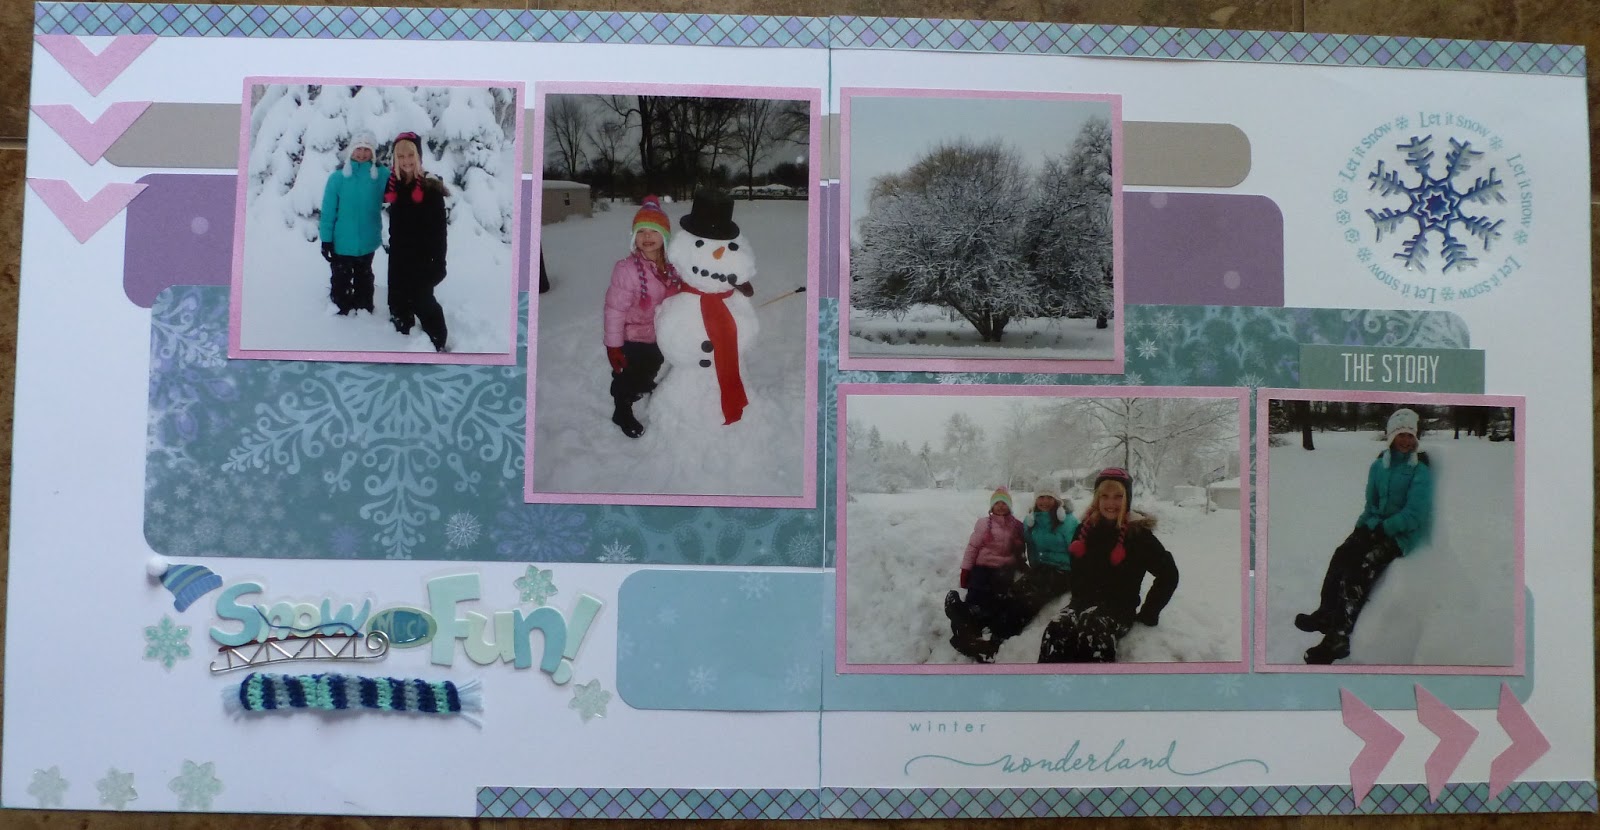
On this layout (left side) instead of a picture on the lower right I used a tag from the dance studio.   I also used the embossed side as the larger piece and the pattern side as the 1/2" trim.  I had lots of fun with these layouts and they go together pretty quickly once you have our colors figured out. 

See you soon!


March 9, 2014

March Club

Hi everyone,
I still can't believe it's March.  I almost said February club.  Well, that just means we are one step closer to spring (I hope).     This is the month in which we will be able to order from the new IDEA book.  Yeah!  I've been having lots of fun with the new products.   The biggest one I have been using is Picture Life.   We will be using these cards in our layouts instead of the photo slots.    See below:  (Remember just click on the picture to see a larger version of it).

We will be using five pictures, really the direction of them is up to you.    Of course, I used washi tape and the new Skylark embellishments.

This is the Picture Life card that I inserted as an embellishment.  You will have lots to choose from for your layout.   I love them!!

On this layout I have the pictures on the left going a different way, up to you!  This is using the new Lollydoodle paper pack.  It screams spring!  You will be able to see at club on how I created 4 double layouts using the Picture Life page protectors in just 2.5 hours.  I can't wait to scrapbook my summer pictures--quicker and simpler!

Here is another Picture Life card in which I used as a journal and put some washi tape behind it.

Picture Life isn't just for scrapbooking, look what my friend Jackie created when we got together.   She just added a flower embellishment in the middle to give it some depth and stamped Many Thanks on a piece of cardstock.  Easy, peesy as they say!


January 7, 2014

January Club

Happy New Year!!!

BRRRRR - it's cold outside, just means I have to craft inside!   For our January scrapbook club we will be using the stamp set Charming Chevrons.   You will notice how I used them on the three different layouts.   I love them because you can stamp them to match your papers and it depicts movement.    We will be using the following picture sizes:

1 - 4 x 6
1 - 6 x 4
1 - 3 1/2 x 3 1/2
2 - 3 x 3

REMEMBER, YOU CAN ALSO CLICK ON THE LAYOUT TO SEE A LARGER VERSION OF IT
You will see on this layout I put the chevrons on the left lower pennant.

In our idea book they even have this bling that can go on your chevrons.  Love that bling!

On this one I put the chevrons on the right side so it looks like the airplanes going up.
On this one I put the chevrons on the right side and I used my favorite washi tape as my bottom border.   I love washi tape!!

December 31, 2013

Happy New Year!

Hi everyone,
I hope you had a wonderful holiday thus far.   I wanted to post some pictures of cards that I'm making for my scrapbook club members as a little bit of thanks for being such great friends and customers.   I'm so fortunate to have such a great hobby to share with others and meanwhile I have made some great friends.   Some of the cards I made are from the Workshops on the Go for cards.   They have it all planned for you - you just have to cut, stamp and assemble.  Easy!   

January is the last month you can purchase these kits as the new IDEA book goes into effect in February.  I already got a sneak peak - love it!  


November 2, 2013

Happy November everyone,

It is time for club once again.     I have a new addiction (no it's not exercise) it is Washi Tape.    We will be using Washi tape from CTMH on our layouts.  We will be using 3 - 3 3/4 x 4 pictures and 1 - 4W x 6H picture or you could do 5 x 7 as well.      We will be using Washi tape as a border as well as some pennant flags if you like.   The examples are below:

REMEMBER YOU CAN CLICK ON THE PICTURES TO SEE A LARGER VIEW OF THE PICTURE

The above  layout uses our new Sparkle and Shine paper pack in our mini-catalog that you will be able to see and order from in November.   It also has the washi tape on the flag and the silver washi tape which borders the slate cardstock.     I also used some of the sparkle and shine complements on the layout.   Fun!  Fun!   Fun!

The next layout actually has pictures and it uses the Forever Always paperpack.   It is a New Year's celebration but it fits the colors the kids had on their outfits.   I used our silver glitter tape instead of washi tape as a border.   I did use the washi tape as our pennant flags.

This is the close-up of the washi tape along with our baker's twine.  I can't tell you how many times I use the baker's twine and I never seem to run out of it.

This last one I thought outside the box and used our Babycakes paper pack for a Thanksgiving layout - pictures to come. 


September 8, 2013

September Club

Hello everyone,
If you are like me, September brings life back to craziness.     For me it's teaching, organizing my kid's busy lives, homework, classes, and lots of other things.   One thing that I always find that will relax me is scrapbooking.     For this month's layout we have a new IDEA book.  Yahoo! You will find lots of inspiration and fun papers of course!    The look of polaroid pictures are making a comeback so I used the new Cricut Artbooking cartridge from CTMH to create the polaroid mattes and then I also stamped on them or used other embellishments.     

We will use 3 - 3 1/4 x 3 1/4 pictures, 1 - 4 x 6 vertical, and 2 - 4 x 4 pictures.

On the layout below I am using the new Huntington papers.  You can click on the picture to see it larger.


 I also used the new Crush book journaling spots (it's like a SMASH book).  Yes, I know, I'll make your journal (ha, ha)
 Below is a close-up (sorry for the glare) of the polaroid looking mattes.   Yes, I did not stamp evenly, but if it was perfect, it would not be mine.    
Lastly, I created the title with the Cricut Artbooking cartridge, fun and easy.   All of these tools will be available for you to use (or I can cut them for you).


Also, September is National Stamping Month and in celebration of that you can purchase for only $10 with a $50 order a 3-set stamp set (a value of almost $48.00)  I'll have pictures of it for you at club (I don't even have it yet!)


July 10, 2013

July Club

Hi everyone, it's time once again.   I hope you are enjoying the nice weather.   I have pictured below our layout that we are focusing on for our club this month.    We will be using 3 - 4 x 4 pictures and 1 - 4 x 6 horizontal and 1 - 4 x 6 vertical picture.   

If you know me well, I always emphasize journaling.  However, many of you tell me you don't like your handwriting and you don't want to take the time to type it out.  So..........you are not off the hook yet.    We will be learning about hidden journaling.  You will write your information on a tag and slip it behind a picture.   Easy, peasy as they say.   

Also, I have been lacking inspiration lately so I googled scrapbook sketches, found one I liked and then modified it.   That is the sketch we will be working on this month.    

Here is the sketch:


Now here is my take on it:    On the below layout I followed it somewhat closely but did not add all of those arrows (we will use a punch that I have).

REMEMBER TO CLICK ON THE LAYOUT TO SEE AN ENLARGED VERSION OF IT


The hidden journaling is behind the picture where there is a close-up of my youngest daughter Paige on the far right hand corner.
 

On the next layout I decided to round the corners for a softer look.


A close up of the journaling


One of the best tricks I learned, is that once you know a layout well, just do some more pages with the same layout because it goes much quicker.  I also added some bling to the arrows.
A close up of the journaling once again and this time I pulled it out so you could see it more.  I used washi tape to decorate the top of the tag.
 

May 7, 2013

May Club

Well, I always say to myself each month, I'm going to get better at posting more of my layouts, but now it is May already and time for a club and.............I haven't posted anything since last club.   On a positive note, I did get about 10 layouts completed since last club.   Also, on a bright note, we won't be getting any more snowstorms for club.

We are going to focus on two techniques this month in club.   First, we will be using a 2" circle punch to create a scalloped border on the bottom and we will use the color ready wood accents on our layouts.

You can use 2 - 4 x 6 horizontal pictures and 2 - 4 x 6 vertical, or all 4 could be 4 x 6 vertical.   I have a few pictures of the layouts below.

REMEMBER - YOU CAN ALWAYS CLICK ON THE LAYOUT TO SEE A LARGER VERSION OF IT


Both sides of the layout
 Close up of the wood accents.   I colored it with an ink pad and then stamped an image on it to match my paper.
 Same layout but I used all vertical pictures and even put in an extra picture.  Also, I stamped on the butterfly wood accent.  The new dream pop paper that you can get for $10.00 with a $35.00 purchase.  Love it!
 Another close up of a wood accent I used.  I colored it with an ink pad and then put a gem in the middle.


Here are a few close ups of the dream pop paper you can get for $10.00:
Dream Pop Paper Pack: 12 Tone-on-Tone Embossed Cardstocks (2 each of 6 colors) and 12 background and texture duos (2 each of 6 designs)

Close up of some of the Dream Pop embossed cardstocks. Beautiful and fun!

February 28, 2013

March Club Layouts and More

Hi everyone,
It's time once again for our every-other-month scrapbook club.   Last weekend I went with a good friend of mine to Archiver's and scrapbooked for over 10 hours.   We had lots of fun crafting, shopping and talking.   While we were there, I figured out our March layout.   We will be focusing on creating large pennants.   Once you pick out your colors it will go quick - I promise!

The layouts use 2 - 4 x 6 horizontal and 2 - 4 x 6 vertical pictures.   The layout below showcases our new Chantilly paper pack which fits well with the Easter pictures I did.  It is also perfect for those "girly" pictures you have.  Remember you can always click on the picture to see a larger version of it.


The next layout was done with Tommy.   At first I wasn't sure about the paper pack but now I'm in love with it!  It worked perfectly for a boat ride we went on with my brother's new boat.  It was a day to remember.   Also, it helps me take my mind off of winter - which I've had enough of!  I love the 1/2" zip strips that come on each patterned paper - it makes the perfect topper for the layouts.   I also added the canvas stickease that you can order with the paper pack.   LOVE IT!


Well, if anyone knows me well, I also take way TOO many pictures of each event so I had to do another layout of the boating experience.   You will notice all the different stickease I used.   Simple - but beautiful.

January 6, 2013

January Club Layout

Hi everyone,
It's that time again - how time flies.    Happy New Years everyone.   It's time to get back in the papercrafting mode.   For club we are going to use (2) 4W x 6H pictures (vertical pictures) and (1)  4 x 6 horizontal, and (2) 3 x 3's.   We will focus on using different letter stickers from Close To My Heart.   On my layout I used the cork alphabet letters.   In addition, I will show you how I used the scoring blade on the cutter to dry emboss.   We will use it on the two mattes.  If you have a scoring blade for your cutter please bring it along.  (It would be the black blade, not the orange). 

Also, if you spend $35.00 in product you can purchase the Valentine's Kit for only $10.00.  It is value at over $35.00.      I will have one for you to look at.   Looking forward to seeing you all.

The close-up of the title of the cork alphabet